This operation is conducted every 6 months. This is a 5 people job: 2 persons are needed for the washing and at least 3 assistants (one near the mirror to pass on the goods and change the hose connections, one near the buckets to change the water pump from one to the other, and one on the M floor to open water and check water exhaust). Here follows a list of materials used, a description of the process and some images:
Materials:
-
2-4 natural sponges rinsed thoroughly in washing machine (they need to be absolutely free of particles, have a close look)
-
1 large yellow plastic bucket with 50l of bidistilled water. Put a lid on the bucket until the moment you use it in order to avoid contamination of the water.
-
1 large yellow plastic bucket with 50l of tap filtered water for pump rinsing
-
1 large yellow plastic bucket with 50l of WARM tap filtered water with Orvus soap (make a rather concentrated solution)
-
2 NEW nitrogen gas cylinders with full pressure with 2 spraying guns each. The cylinders must be FULLY charged (high pressure) otherwise the drying is too slow and will leave some thin water streaks.
-
LIGHTS: it is fundamental to have an intense illumination all over the mirror to see very well what one is doing and detect all the residal spots while washing and especially drying. Install the 3 sets of double lamps used for the 4m Aluminizing (borrow them from Gale) and hopefully an additionnal one, in the 4 corners of the telescope guirder.
-
the balcony bracket and its 2 wooden boards (remove the interior M1 ring baffle before putting the balcony)
-
2 white plastic suits
-
1 submersible pump
-
1 green water hose connected to the water exhaust down to a large bucket on the M floor
-
1 yellow water hose connected to the filtered water tap on M floor and with a quick connect fitting at the other extremity
-
1 yellow water hose connected to the pump and with a quick connect fitting on the other extremity
-
1 yellow water hose with a T fitting and 2 secondary hoses equipped with water spraying guns
-
4 nitrogen gas guns with corresponding hoses
-
2 nitrogen gas cylinders
-
2 pairs of surgical gloves
-
'water' vacuum cleaner in case of problem in the exhaust pipe
-
a few boxes of Kimwipes drying papers
Process:
-
Count 1 hour for the preparation of all the materials and 2 hours for the washing process to be completely done.
-
DO NOT FORGET to seal very carefully with wide strong adhesive tape (Duct tape) the gap between the interior seal and the flange on the chimney above it (there are holes there and unless they are sealed definitively with silicone, they need special sealing to avoid water getting into the chimney and the mirror cell)
-
Beware that the grounding plate at the top of the mirror prevents locally the pneumatic seal to do good contact with the mirror. Do not spray water into that tiny area or put some tape to seal it.
-
Inflate the exterior and interior pneumatic seals. Inspect visually that they are making good contact with the mirror. Tape the interior seal connector and the temperature sensor to the chimney.
-
Remove the ring baffle around the chimney and install the balcony.
-
Clean separately any greasy spots or any other weird marks like bird drops that could contaminate later the sponges and the rest of the mirror.
-
Hose water down into the exhaust hole until water flows at the output of the pipe. Then start spraying tap filtered water on the mirror for a few minutes to remove the dust.
-
At any time, the person on the M floor should check that there are no water filtration through the chimney, rotator and mirror cell (you would eventually see water leaking to the ground).
-
Spray the Orvus solution and start sponging the mirror. One has to climb on the chimney to reach easily the top of the mirror
-
Rinse a few minutes with tap water and repeat the Orvus sponging. Rinse again with tap water.
-
Put the pump into the filtered water bucket and keep rinsing the mirror until no more Orvus solution comes off the hose. This is to clean off Orvus from the pump and the hoses.
-
Reconnect to the tap filtered water for a few minutes (there is much more pressure than the filtered water in the bucket so you can eliminate all traces of Orvus).
-
Put the pump in the bidistilled water and spray generously all over the mirror until you have about 10l left.
-
Start drying the mirror: one person on the chimney dries out the surroundings of the mirror with Kimwipes, then blows nitrogen gas from the top to the bottom until it reaches a sufficient height to keep drying from the balcony. Remove the sealing tape around the chimney and dry with paper the water in the holes. MAKE SURE you don't blow that water back onto the mirror as it will leave water marks (this 'trapped' water is not perfectly clean).
-
Dry as fast as possible always from top to bottom (high pressure is needed in the cylinders). One person on each side with one gun in each hand.
-
A third person needs to maintain wet the lower part of the mirror by keeping spraying bidistilled water, especially below the chimney, until the drying persons are ready to get to that area.
-
TAKE A LOT OF CARE at the end of the process of removing with paper all water on the surrounding of the mirror to avoid late contamination. Use Kimwipes to suck the pool of water left at the botttom.
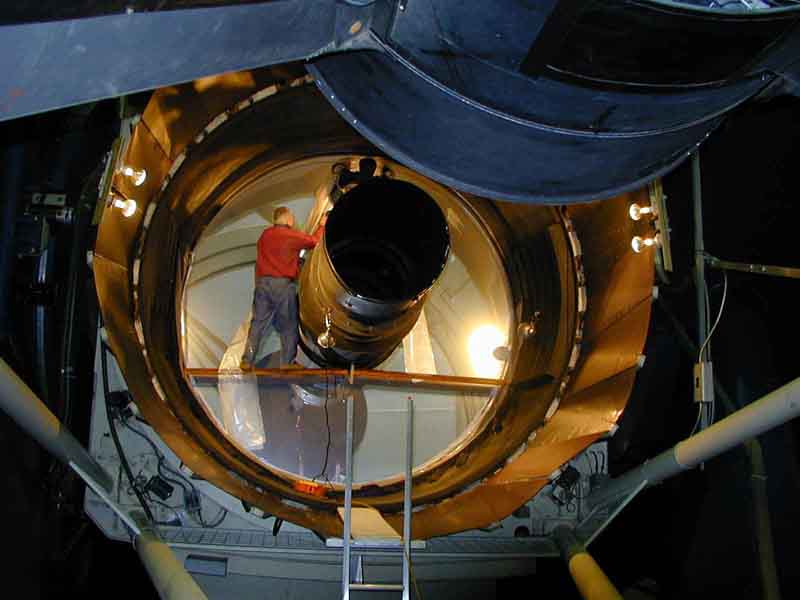 |
For our first in-situ washing test (august 00), we had not yet received the exterior inflatable seal so we used duct tape and plastic sheet. |
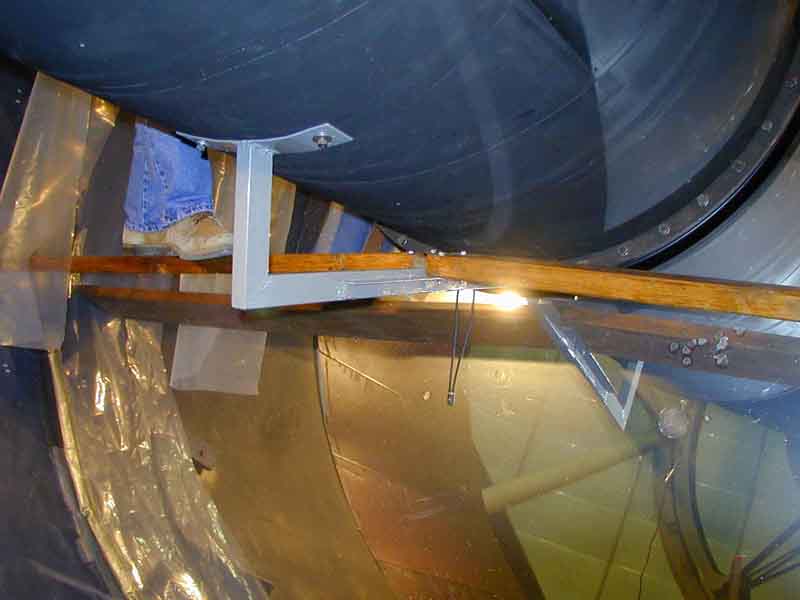 |
Detail of how the balcony is attached to the chimney with a special bracket. |
 |
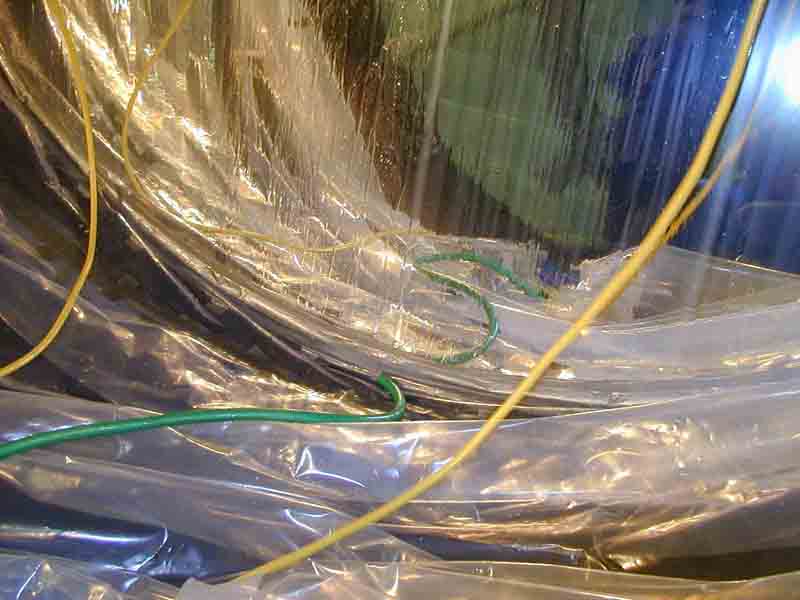
Detail of the interior inflatable seal (between mirror center hole and chimney) and its valve. |
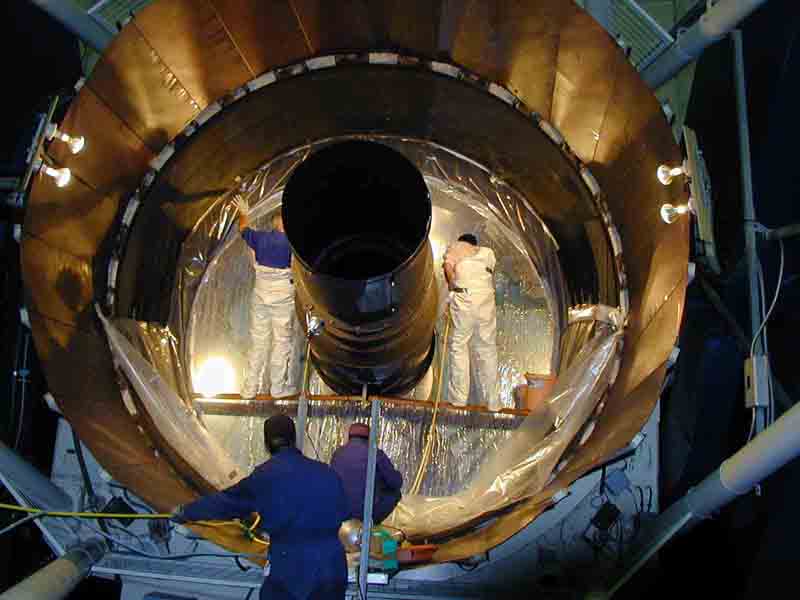 |
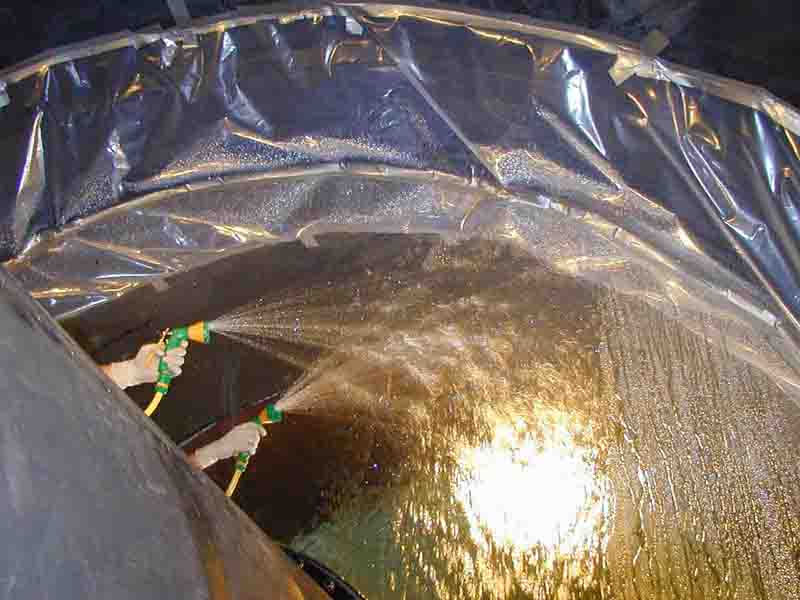
Water is being sprayed on the mirror. |
 |
A small pool is forming at the bottom and being sucked up immediately by a water pump. |
 |
Detail of spraying water. |
 |
Detail of drying the mirror with dry nitrogen. |
Last revised on February 2, 2001, Maxime Boccas


